

Setting up sending emails using laravel is very simple, but what if you need to receive incoming emails.
In this case, use the Laravel Mailbox package. Laravel Mailbox supports Mailgun, Postmark, Sendgrid and Local (for development).
Here we want to tell about the process of setting up incoming messages using Sendgrid.
The Laravel Mailbox website explains in an accessible way how to install a library in a Laravel project. You also need to add the Sendgrid driver. I will use laravel-sendgrid-driver.
We configure sending letters through Sengrid, according to their documentation, only as MAIL_DRIVER write sendgrid.
Now let’s start setting up receiving emails.
We write these variables in our .env file:
MAILBOX_DRIVER=sendgrid
MAILBOX_HTTP_USERNAME=laravel-mailbox
MAILBOX_HTTP_PASSWORD=ed26eb5d885cfadd601c2fa495903bd43ea2bf7f5eb8861a871011a67bf75c41
MAILBOX_HTTP_USERNAME – can be any username. The default is “laravel-mailbox”, leave it as it is.
MAILBOX_HTTP_PASSWORD – must be a random password that will be used to identify access rights to the incoming message.
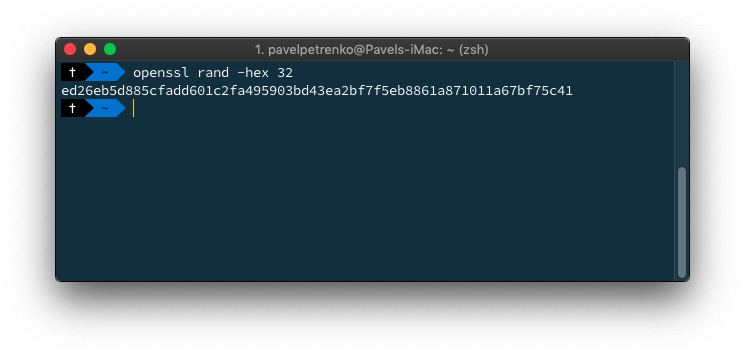
To generate MAILBOX_HTTP_PASSWORD, open a terminal and enter the following command.
openssl rand -hex 32
We create a random string, which will be used as MAILBOX_HTTP_PASSWORD.
Now it is time to use the Sendgrid instruction to configure the sending of incoming email to our laravel application.
After you have created the domain responsible for receiving emails, it is time to add the web route from our project, where we want to be delivered to our messages.
The web route should have the following structure:
https://YOUR-USERNAME:YOUR-GENERATED-PASSWORD@YOUR-DOMAIN/laravel-mailbox/sendgrid
YOUR-USERNAME is the username that you defined in the MAILBOX_HTTP_USERNAME variable.
YOUR-GENERATED-PASSWORD is the password that is used for MAILBOX_HTTP_PASSWORD.
YOUR-DOMAIN – the domain of your application (like example.com).
Based on the foregoing, our web route will look like
https://laravel-mailbox:ed26eb5d885cfadd601c2fa495903bd43ea2bf7f5eb8861a871011a67bf75c41@example.com/laravel-mailbox/sendgrid
It is this address that needs to be inserted into the Destination URL field in the Sendgrid webhook settings panel
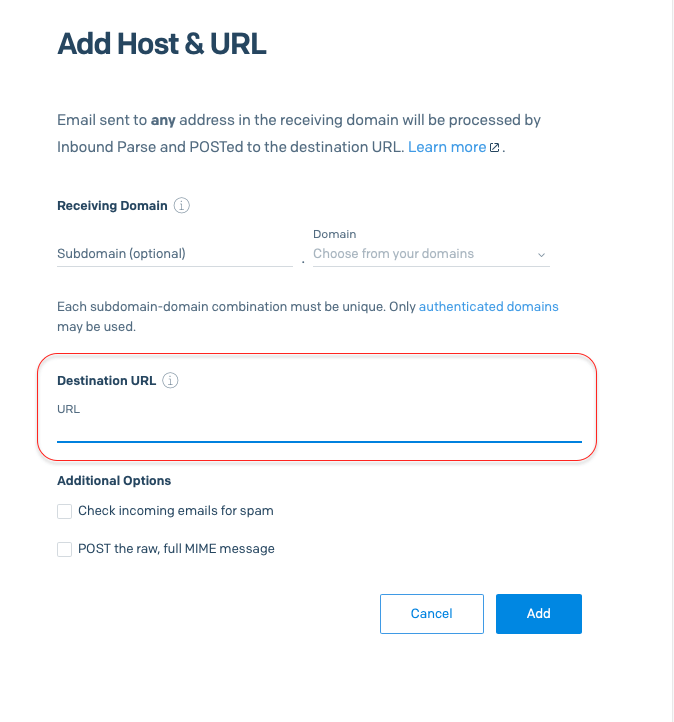
don’t forget to check the box for POST the raw, full MIME message.
Now you can return to the project and complete the Laravel Mailbox setup. In the project, go to the AppServiceProvider class and add the following code
public function boot()
{
Mailbox::catchAll(function(InboundEmail $email) {
// Work with incoming email   });
}
This is all you need to receive incoming mail in Laravel. All letters will be stored in the mailbox_inbound_emails table of our project automatically. If you want to add your logic to the processing of letters, then the function described above is the place where all this can be implemented.

Get a Custom Solution with Web Design Sun
At Web Design Sun, we specialize in building web applications for clients in every business and industry. If you’re interested in custom applications for your business, contact us today.
Contact us today to get started